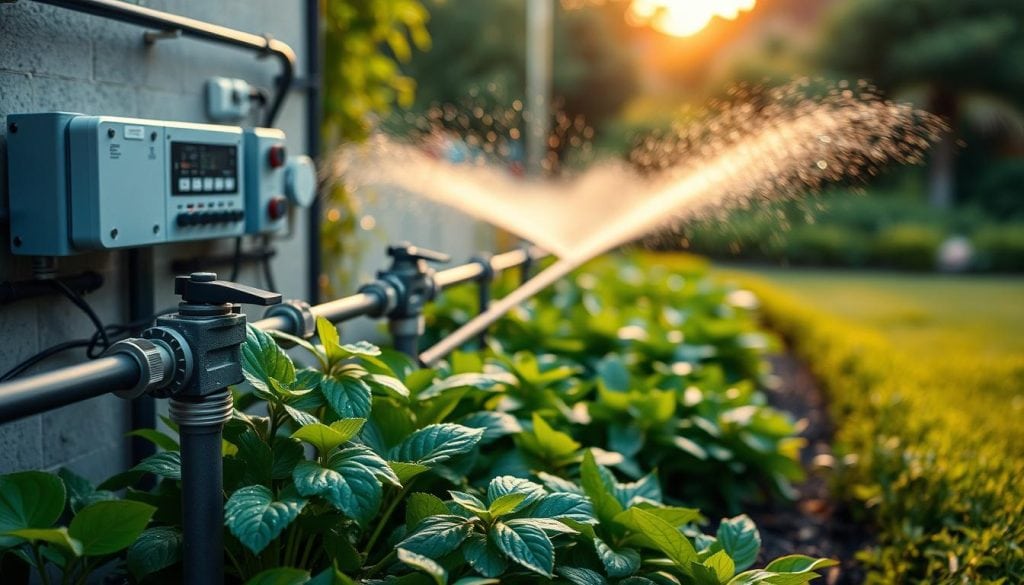
Ever noticed your garden looking patchy despite regular watering? A well-designed setup is only half the battle—keeping it running smoothly takes know-how. Drip systems, with their tiny emitters, are especially prone to hiccups like blockages or pressure mishaps. These issues often creep up quietly, damaging plants long before you spot them.
Think of your irrigation system setup like a car: skip the check-ups, and you’ll face bigger repairs later. For example, a blocked dripper in your drip irrigation system might seem minor, but over time, it stresses plants and slashes yields. Regular inspections catch these problems early. Simple habits, like flushing lines or swapping worn components, make a huge difference to ensure your system requires minimal maintenance.
Irrigation systems are essential for keeping your landscape healthy, but they can face several common issues such as clogged nozzles, broken sprinkler heads, uneven water coverage, or faulty timers. These problems not only waste water but also lead to dry spots and overwatering in other areas, affecting the overall health of your plants. Regular inspections, proper system setup, and timely repairs are key to effective irrigation maintenance and preventing long-term damage.
For homeowners or property managers who prefer expert help, professional landscaping services can ensure your irrigation system runs efficiently year-round. From diagnosing issues to performing seasonal adjustments and system upgrades, these services save time and protect your investment by keeping your landscape lush and well-maintained.
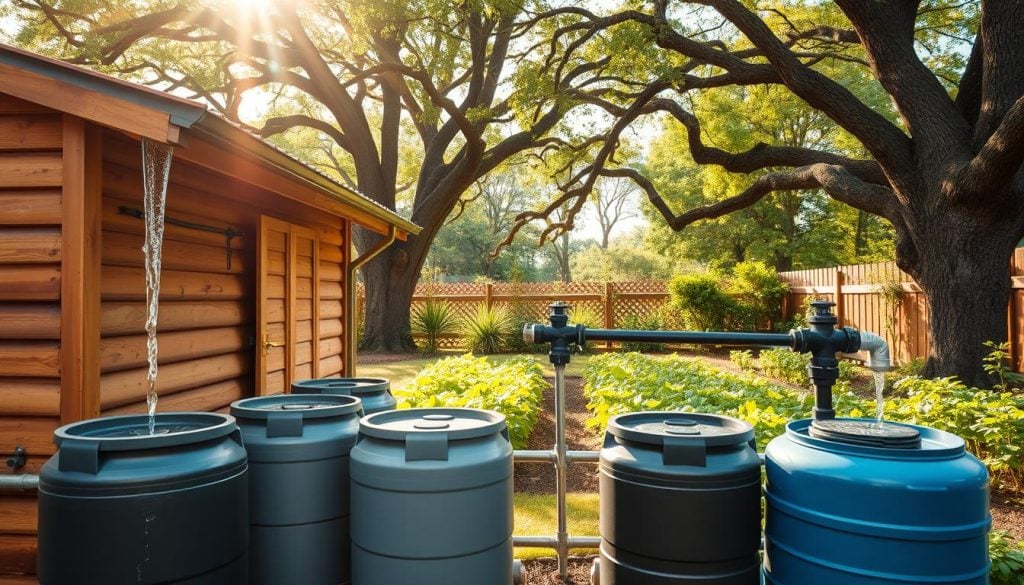
Australian conditions add extra challenges. Hard water, dust, and shifting temperatures strain components faster. But don’t stress—we’ve got you covered. This guide shares practical information and tips to extend your system’s life, save water, and keep your garden thriving. Make sure to monitor the flow rate during dry times season. Ready to dive deeper?
Key Takeaways
- Drip setups need frequent checks to avoid hidden blockages.
- Pressure fluctuations can damage emitters—monitor them closely.
- Flushing lines seasonally prevents sediment buildup.
- Replace cracked or brittle parts before they fail completely.
- Local water quality impacts how often you’ll need to clean filters.
Understanding the Fundamentals of Irrigation Systems
Why does one part of your garden flood while another stays parched? The answer often lies in your watering setup’s core parts and design. Let’s break down what makes these networks tick.
Parts That Make the Magic Happen
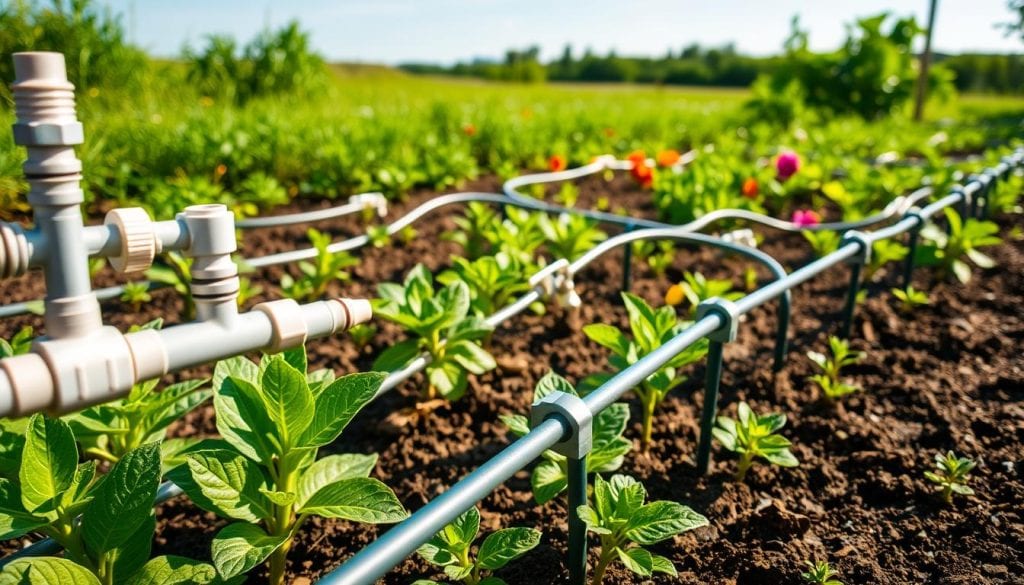
Every watering setup has key players working together. The head assembly – think filters, pressure regulators, and backflow preventers – acts as the control centre. Sprinklers cover lawns efficiently, while drip lines deliver precise hydration to veggie patches. Different jobs, different tools!
| System Type | Best For | Filtration Needed |
|---|---|---|
| Rotors/Sprinklers | Lawns & large areas | 80 mesh |
| Drip Emitters | Gardens & pots | 120 mesh |
| Drip Tape | Rows of crops | 155 mesh |
Why Check-Ups Matter
Controllers need fresh batteries before summer hits. Filters demand cleaning when dust storms roll in. Miss these? You’ll see dry patches or soggy spots within weeks. Our mates at this comprehensive guide to irrigation systems explain how seasonal tweaks boost performance.
Remember – smart monitoring saves water and plants. Spot a leaky joint? Fix it before it becomes a geyser. Noticed weaker spray? Maybe filter mesh needs upgrading. Stay ahead, and your garden repays you tenfold.
Identifying Common Problems in Irrigation Systems
Ever wondered why some plants thrive while others barely survive under the same watering schedule? Hidden issues in your drip irrigation system often play tricks on plant health. Let’s uncover the usual suspects causing uneven hydration and wasted resources.
When Water Flow Goes Rogue
Emitter blockages top the headache list for drip users. Those tiny holes? They clog faster than a Sydney stormwater drain after autumn leaves fall. Two main villains cause this:
| Blockage Type | Common Signs | Peak Season |
|---|---|---|
| Organic Gunk | Green slime in filters | Summer |
| Mineral Crust | White flakes near emitters | Year-round |
| Fertiliser Residue | Crystal deposits | After feeding |
Pressure swings add another layer of chaos. One morning your tomatoes get a gentle shower, by afternoon they’re drowning in a mini monsoon. This rollercoaster stresses roots and wastes precious H₂O.
Silent System Killers
That puddle near the lemon tree? Could be more than just overwatering. Leaks often start small – a chewed tube from last summer’s possum raids, or a cracked joint from UV exposure. Left unchecked, they’ll turn your water bill into a horror story.
Mineral buildup creeps up slowly. I once found drippers completely sealed by calcium deposits – looked like tiny coral reefs! Regular flushing prevents this concrete-like gunk.
Watch for subtle clues: plants leaning towards working emitters, or soil that stays bone-dry despite daily runs. These whispers often shout about underlying issues needing attention.
Irrigation Maintenance and Troubleshooting Techniques
How often do you check your watering setup between seasons? Consistent care prevents 80% of common issues. Start by mapping your network’s normal operation – this becomes your troubleshooting blueprint.
Irrigation maintenance and troubleshooting techniques are essential for ensuring efficient irrigation and proper water management across your landscape. Regularly checking for leaks, clogged emitters, misaligned sprinkler heads, and faulty timers can help prevent water waste and uneven coverage. By staying proactive with system inspections and seasonal adjustments, you can extend the life of your irrigation system while promoting healthier plants and conserving valuable water resources.
Smart Habits for Long-Lasting Systems
I learned this the hard way when cracked fittings flooded my pumpkin patch. Now, I follow a three-step rhythm: inspect, clean, adjust. Every 4-6 weeks during growing months, I:
- Time water flow with a bucket and stopwatch
- Feel tubing for unexpected damp spots
- Note plants leaning towards certain emitters
| Check Type | Frequency | Tools Needed |
|---|---|---|
| Pressure Tests | Season Start/End | Pressure gauge |
| Dripper Flow Checks | Every 3 Weeks | Measuring cup + timer |
| Filter Inspections | After Dust Events | Soft brush |
Spotting Hidden Issues Early
Ever noticed thriving plants next to struggling ones? Flow variations often cause this. For non-pressure compensated emitters, keep discharge rates within 10% difference. Here’s how:
- Mark 5 random emitters with coloured ties
- Measure each output over 2 minutes
- Calculate average – discard results beyond ±5%
Seasonal changes demand adjustments. Reduce run times after autumn rains arrive. In summer’s peak heat, add extra cycles but shorten duration. Your plants get consistent moisture without waterlogging.
Step-by-Step Guide to Flushing and Disinfestation
What’s the secret to keeping your drippers flowing freely season after season? Regular flushing and smart disinfestation prevent 90% of blockages. Think of it like dental care for your setup – skip cleanings, and problems multiply fast.

Flushing Main, Submains, and Laterals Correctly
Start with the main line – it’s the backbone of your water flow. Open flush valves one section at a time, working downstream. A mate in Mildura learned this the hard way when sediment choked his tomato lines last summer.
| Component | Flush Duration | Target Flow Speed |
|---|---|---|
| Main Line | 2+ minutes | 0.6 m/s |
| Submains | 2 minutes | 0.55 m/s |
| Laterals | 2 minutes per zone | 0.5 m/s |
Dirty water? Flush after every fourth watering cycle. For clean sources, three seasonal flushes usually suffice. Watch for murky water turning clear – that’s your cue to move to the next section. Regular maintenance is essential to keep your drip irrigation system operating efficiently.
Chlorination, Hydrogen Peroxide, and Acid Treatments
Chlorine remains the go-to for slime busting. Inject until it reaches your furthest dripper, then let it sit overnight. My neighbour swears by hydrogen peroxide – it zaps algae faster and leaves no aftertaste in her veggie patch.
Irrigation Maintenance and Troubleshooting
| Treatment | Contact Time | Best For |
|---|---|---|
| Chlorine | 2-24 hours | Organic gunk |
| Hydrogen Peroxide | 30-60 minutes | Quick cleanups |
| Phosphoric Acid | 15-30 minutes | Mineral deposits |
Always test chemical levels at the system’s end. Acid treatments need extra care – they can eat through cheap plastics. Remember: flush thoroughly after any chemical use. Your plants will thank you with lush growth! Make sure to monitor flow rates regularly to avoid issues.
Effective irrigation maintenance and troubleshooting start with a well-planned irrigation system design and installation. A properly designed system ensures even water distribution, reduces waste, and simplifies future maintenance. Regular checks for leaks, pressure issues, or clogged components help keep the system running efficiently. Addressing small problems early prevents larger repairs and supports long-term landscape health through consistent and reliable watering.
Practical Repair and Component Replacement Tips
Why does your water bill spike unexpectedly? Often, it’s small component failures adding up. Learning basic fixes saves money and keeps your garden hydrated efficiently.
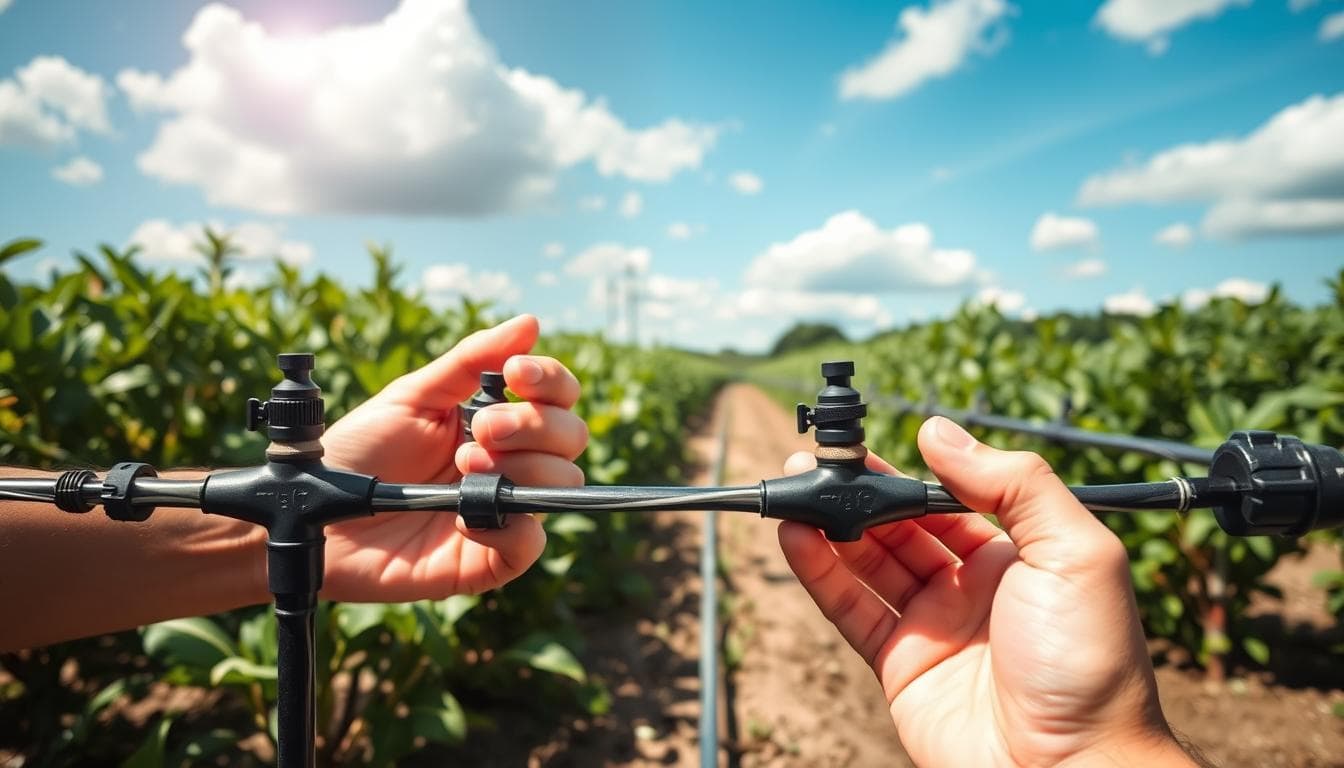
Head Assembly, Filter, and Dripper Maintenance
Rubber washers in connectors dry out faster than sunscreen in Darwin summer. Replace them yearly – cracked washers cause sneaky leaks. Hand-tighten only! Over-tightening cracks plastic faster than a dropped terracotta pot.
Cleanable drippers shine in hard water areas. Unscrew the cap, rinse the diaphragm, and reassemble. For stubborn deposits, soak parts in vinegar overnight. Non-cleanable types need replacement – techniques vary by tubing size:
| Tubing Size | Replacement Method | Tools Needed |
|---|---|---|
| ¼” Micro | Trim & reinsert | Tube cutter |
| ½” or Larger | Goof plug + new hole | Punch tool |
Repairing Leaks, Punctures, and Worn Out Parts
Found a chewed tube? Possums love biting micro-tubing! Use poly repair tape for small holes. Larger damage needs couplers – cut out the bad section, insert new piece. Always make sure lines are dry before patching.
Pressure regulators fail gradually. If some emitters gush while others trickle, test outlet flow rates. Mismatched speeds mean replacement time. Filters need cleaning after dust storms – match mesh size to your water source quality.
Last summer, my neighbour’s system required 27 couplers after a ride-on mower incident. Now she marks lines with bright stakes. Smart move!
Conclusion
Ever noticed how a little care goes a long way in keeping things running smoothly? Your watering setup works best when knowledge meets action. Understanding each component’s role helps spot issues before they escalate—like catching a worn washer before it becomes a midnight geyser show.
Consistent checks save both water and headaches. A mate in Brisbane halved his water bill just by swapping filters monthly and adjusting schedules with the seasons. Different setups need unique approaches—what keeps sprinklers happy might choke delicate drip lines.
As temperatures shift, so should your care routine. Summer demands more frequent flushes to combat algae, while autumn calls for line draining to prevent frost damage. It’s not about working harder, but smarter—small efforts compound over time.
Ready to give your setup the TLC it deserves? Start with this weekend’s filter clean and work up from there. Your plants will reward you with lush growth, and your wallet will thank you when bills stay manageable. Happy gardening!
FAQ
How often should I flush my drip system?
Flush mains, submains, and laterals at least 3–4 times per season. Sandy areas or systems with organic buildup may need monthly flushing. Always check the flush valve for debris after heavy rain or visible sediment to ensure your drip system is operating properly.
What causes uneven water flow in my garden setup?
Pressure variations or clogged emitters are common culprits. Check for mineral deposits in drippers, kinked lines, or leaks. A simple test? Compare flow rates at the start and end of lateral lines—differences over 10% signal blockages, which can be a problem for your drip irrigation.
Can I use household vinegar to clean mineral deposits?
Yes! White vinegar dissolves calcium buildup in emitters. Soak clogged parts for 1–2 hours, then rinse. For stubborn cases, use a mild acid treatment like citric acid. Remember: always flush the system after cleaning to protect plants and make sure all components are functioning well.
When should I replace worn-out drippers?
Replace drippers if flushing doesn’t restore flow, or if they leak consistently. Look for cracks or brittleness—sun exposure weakens plastic over time. Pro tip: Keep spare 2–4 L/h emitters (like Netafim Techline) for quick swaps during checks to maintain optimal performance of your drip systems.
Why do some emitters stop working after heavy rain?
Soil particles or organic matter often enter during storms, blocking filters or emitters. Inspect filter screens and flush laterals post-rain. Installing a secondary mesh filter near the water source adds extra protection to ensure your drip system continues working properly.
How do I check for leaks in underground lines?
Look for soggy patches or unusually green grass. Isolate sections by closing valves, then monitor pressure gauges—drops indicate leaks. For pinpoint accuracy, use a leak detector tool like the Irritec ProFinder or inject food-safe dye into lines to identify the problem.
What’s the best way to maintain filters and valves?
Clean disc filters weekly during peak use. Soak them in a hydrogen peroxide solution (1:10 ratio) to dissolve algae. For valves, lubricate diaphragms annually with silicone grease. Sticky valves? Debris in the solenoid—flush with a high-pressure hose nozzle to ensure all components are operating efficiently.