Written by Jasper Boekelman and published on https://www.wikihow.com/
Do you want to grow nutritious food? Then the first thing you need to do is to start by preparing your soil for your vegetable garden. Building your soil increases the available nutrients for your veggies which in turn creates healthier produce for you to eat.
But what if your garden soil is less than ideal? Did you know that you don’t have to be content with your garden soil? What you start with is not what you have to settle for. It can be improved. The overall success of your garden depends on the health of your soil. But good soil doesn’t just happen. And it doesn’t happen overnight. Healthy garden soil is something that takes time and effort.
Original post here https://www.wikihow.com/Prepare-the-Soil-for-a-Vegetable-Garden/.
How to Prepare the Soil for a Vegetable Garden
If you want to grow your own vegetables, your garden needs to have the proper type of soil to provide nutrients to your plants. Luckily, there are easy ways that you can prepare the soil to get the best yield throughout the growing season. Start by testing the soil in your garden, then use organic materials and fertilizers to adjust the pH and drainage. Once the soil is ready, form it into rows for your vegetables so you can plant them!
Part1 Testing the Existing Soil
- 1Stake an area for your garden that gets 6-8 hours of sunlight daily. Vegetables need full sunlight in order to grow healthy, which usually means 6-8 hours each day. Find a place in your yard that has enough space for the vegetables you want to grow and receives direct sunlight throughout the day. When you find a spot in your yard that you like, drive garden stakes into the corners so you don’t forget where your spot is.[1]
- You can make your vegetable garden any size you want, but aim to have at least 40–50 square feet (3.7–4.6 m2) so you have room to plant multiple vegetables.
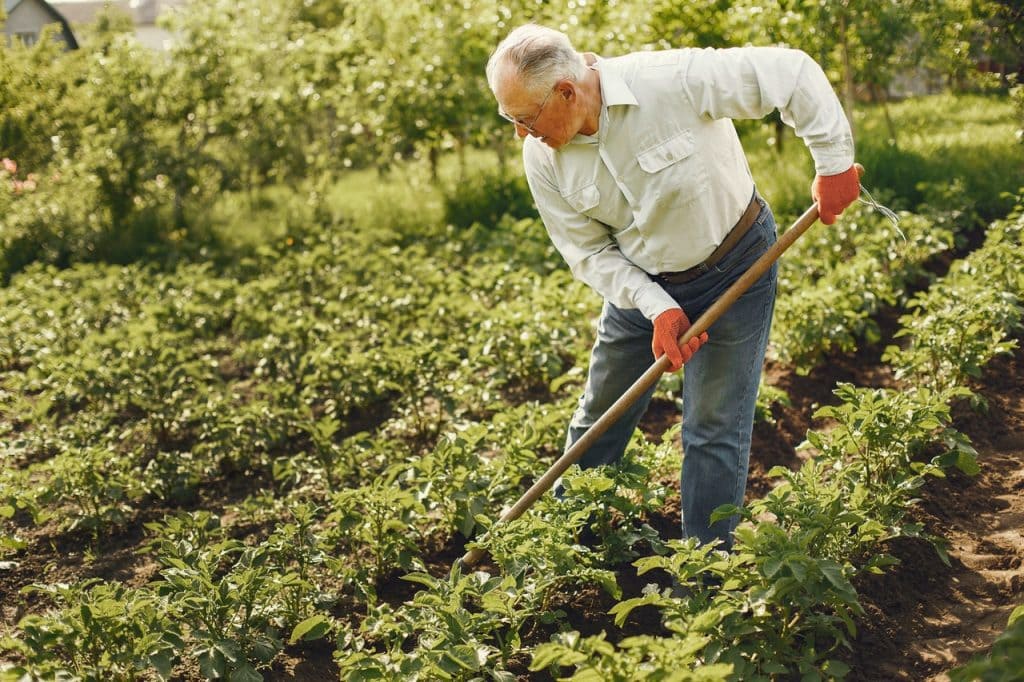
- 2Loosen the soil to a depth of 8–10 in (20–25 cm). Use a straight spade or your shovel to dig 8–10 inches (20–25 cm) into the ground. Turn the soil over so the topsoil is in the bottom of your plot. Continue loosening all of the soil in the plot, and break apart large clods of dirt until all of the soil has a similar size and consistency.[2]
- If there’s grass or sod over your plot, you need remove it before you loosen the soil underneath.
- You can use a motorized tiller or cultivator if you want to loosen the soil quickly. Many hardware or outdoor care stores offer daily equipment rentals.Warning: Contact your local utility companies before you start digging to make sure there aren’t any pipes or electrical wires underground in the area where you’re planning your garden.
- 3Squeeze the soil in your hand to see if it crumbles easily. Put on gardening gloves so you don’t get any skin irritation from any dirt or plants. Grab a handful of the soil and squeeze it tightly in your hands. The soil should form a loose ball that crumbles apart when you squeeze on it hard. If the soil forms a hard ball, then you have clay soil and it is too thick for plant growth. If the soil doesn’t form a ball at all, then it is too sandy.[3]
- Test the soil in multiple locations in your garden plot since the soil make-up could vary throughout it.
- 4Check the nutrients of your soil with a soil test kit. Collect 5-10 scoops of soil samples from different locations in your garden plot, and mix them together with your trowel until they’re thoroughly combined. Scoop the soil into the containers provided in a soil test kit, and break open the capsules in each container. Fill the containers with water and shake them vigorously until the water changes color. Compare the colors of the water to the guide provided with the test kit to see the pH and nutrients.[4]
- You can get soil test kits from gardening stores or online.
- Soil test kits check the levels of pH, nitrogen, phosphorus, and potassium in your soil.
- Vegetable gardens should have a slightly acidic pH between 5.8–6.3.
- You may also be able to send soil samples into a university lab or soil sampling company to get more accurate tests done if you want.
- 5Test the drainage of your soil. Dig a hole in your garden plot that’s 12 inches (30 cm) in diameter and 12 inches (30 cm) deep, and fill it with water using your hose. Let the hole drain overnight before filling it to the top again. Measure the water level after an hour to see how much has drained.Proper draining soil will drain 2 inches (5.1 cm) of water every hour.[5]
- If the water drains too quickly, then your vegetables won’t receive enough water.
- If the water drains slowly, then the vegetable roots will become waterlogged and could develop rot.
Part2 Amending the Soil
- 1Amend the soil at least 3 weeks in advance of planting. Soil needs time to absorb nutrients so it’s healthiest when you plant your vegetables. At least 3 weeks before you plan on planting vegetables, turn the soil again so the topsoil is in the bottom of your plot. Make sure all of the dirt clods are the same size so your vegetables can easily develop roots.[6]
- You can choose to amend the soil as early as the fall or winter before you plant if you have the time.
- 2Remove any weeds, sticks, and rocks from the soil. Use a rake to sift through your soil so you can find any weeds, large sticks, or stones that are inside your garden plot. When you pull out weeds, try to get as many of the roots out of the soil as you can or else they may grow back. Do your best to get rid of as much of the waste out from your soil as you can.[7]
- Avoid putting weed roots in compost bins since they could grow back and affect the quality of the compost.
- It’s okay if you aren’t able to remove all of the branches or rocks from your soil.
- 3Add gypsum to clay soils to help break it apart. Gypsum is a mineral that helps add nutrients to clay soil and can loosen it up. Spread about 3–4 pounds (1.4–1.8 kg) of gypsum into your soil for every 100 square feet (9.3 m2) in your garden plot. Mix the gypsum into the soil with your shovel or spade so it’s thoroughly combined.[8]
- You can buy gypsum from your local gardening or home improvement store.
- Don’t use gypsum in sandy soils since it will only make it looser.
- 4Mix in up to 4 in (10 cm) of compost to fix sandy soil or lower the pH. Organic materials like manure or compost help supply your soil with nutrients and decrease its pH level. Compost can also help improve drainage in all types of soil to keep your plants healthy. Start by applying a 2 in (5.1 cm) layer of the compost on top of your soil and mix it in with your shovel. If you want to add more, you can put in up to an additional 2 inches (5.1 cm).[9]
- You can either buy compost from gardening stores or you can make your own. If you do make your own, don’t use any animal or meat products in the compost bin since it can negatively affect your vegetables.
- Test the pH of your soil after you add compost or manure so you can check if you need to make any more amendments.
- 5Turn lime into the soil to raise the pH. Ground limestone, commonly referred to as lime, is a basic mix that decreases the acidity in your soil. Get a hydrated lime mix and spread 2–3 pounds (0.91–1.36 kg) for every 100 square feet (9.3 m2) of soil in your garden plot. Stir the lime deep into the soil to make it less acidic.[10]
- You can buy lime from your local gardening store.Tip: If you add too much lime, you can add more compost or mix in 1–2 pounds (0.45–0.91 kg) of sulfur into your soil for every 100 square feet (9.3 m2).
- 6Fertilize the soil to add even more nutrients. An NPK fertilizer has different mixes of nitrogen, phosphorus, and potassium to help your plants get their required nutrients. Mix in 1 pound (0.45 kg) of 10-10-10 fertilizer for every 100 square feet (9.3 m2) of garden you have. Turn the fertilizer into the soil so it can absorb all of the nutrients before you plant your vegetables.[11]
- Don’t apply fertilizer to the soil if it already has enough nutrients since you could make your plants weaker.
Part3 Tilling the Garden Rows
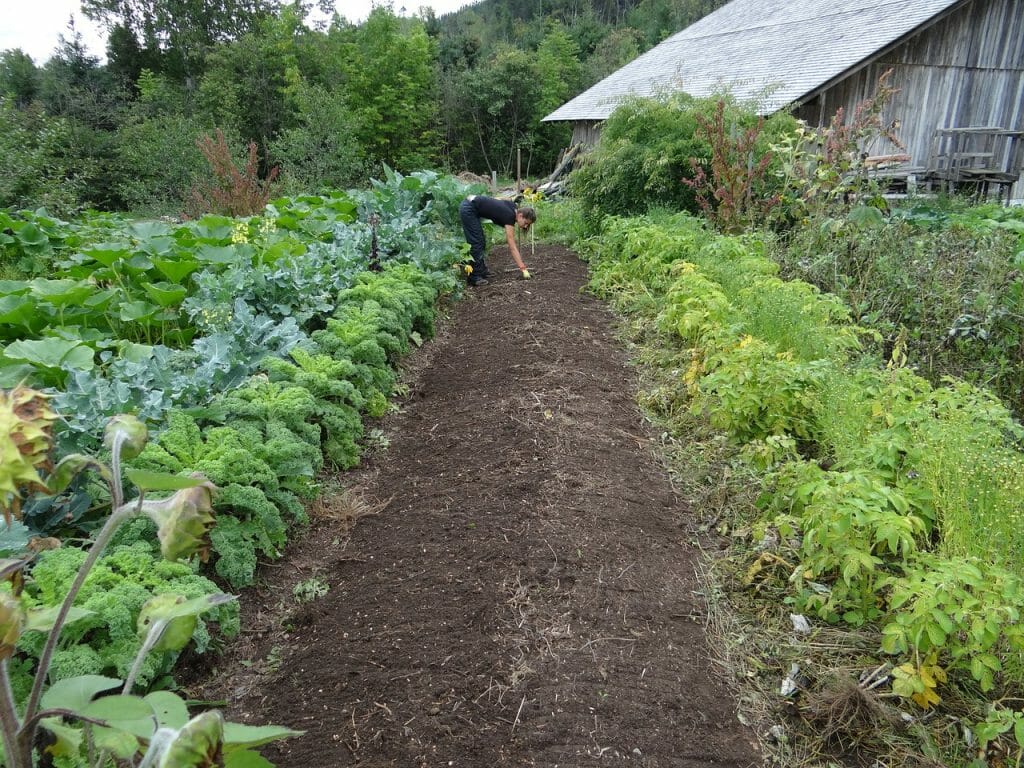
- 1Plan your garden rows so there’s at least 12 in (30 cm) between them. Vegetable gardens grow best when they’re planted in rows so you have enough space between your plants. Check the specifications on the seeds or vegetables you want to plant to see if they have special spacing requirements. Then mark where you want to place your rows in your garden using stakes so you can easily form them later.[12]
- The distance between your rows depends on the types of vegetables you plan on growing. For example, broccoli needs at least 30 inches (76 cm) between each row so they can grow fully.
- You don’t need to make your rows straight if you don’t want to.
- 2Rake your garden to form rows that are 8–10 in (20–25 cm) tall. Use a rake or a garden hoe to push the soil long, raised mounds that are about 8 inches (20 cm) tall. Aim to make the base of each row at least 6 inches (15 cm) wide so your vegetables’ roots have room to grow without being exposed to open air. Continue forming your rows so they have valleys in between them.[13]
- You don’t need to make raised rows if you don’t want to, but it ensures that your plants grow in healthy soil
- 3Level the tops of the rows so they’re 6–8 in (15–20 cm) wide. The tops of your rows work best if they’re level so your vegetables can grow straight down. Use the back of your shovel or hoe to flatten the soil on top of the row without compacting it tightly. Make sure the top of the row is at least 6 inches (15 cm) wide so the roots have room to grow and expand.[14]Tip: Avoid walking on your soil since you could compress it and make it more difficult for your plants to root.
- 4Mulch between the rows to prevent weeds from forming in your garden. Mulching your garden helps the soil retain water as well as prevents weeds from growing in your garden. Put a 2 in (5.1 cm) layer of mulch in the valleys between your rows. You can use a standard mulch mix or organic material, such as straw.[15]
- Don’t mulch on top of your rows since it will be difficult for vegetables to grow through it.
Original post here https://www.wikihow.com/Prepare-the-Soil-for-a-Vegetable-Garden/.