Written by Marie Proeller Hueston and published on https://www.bobvila.com/
Growing in containers saves space, but it’s also a smart alternative if you’re restricted by shade, poor soil, time, mobility, or climate. Container gardens can be more productive than a regular garden, while allowing you to avoid most pest and disease problems. Best of all, they bring your garden up close, creating a sense of intimacy that you may not otherwise get.
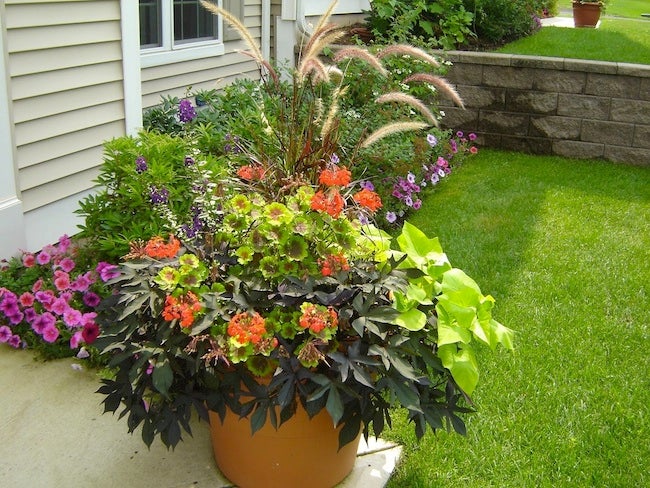
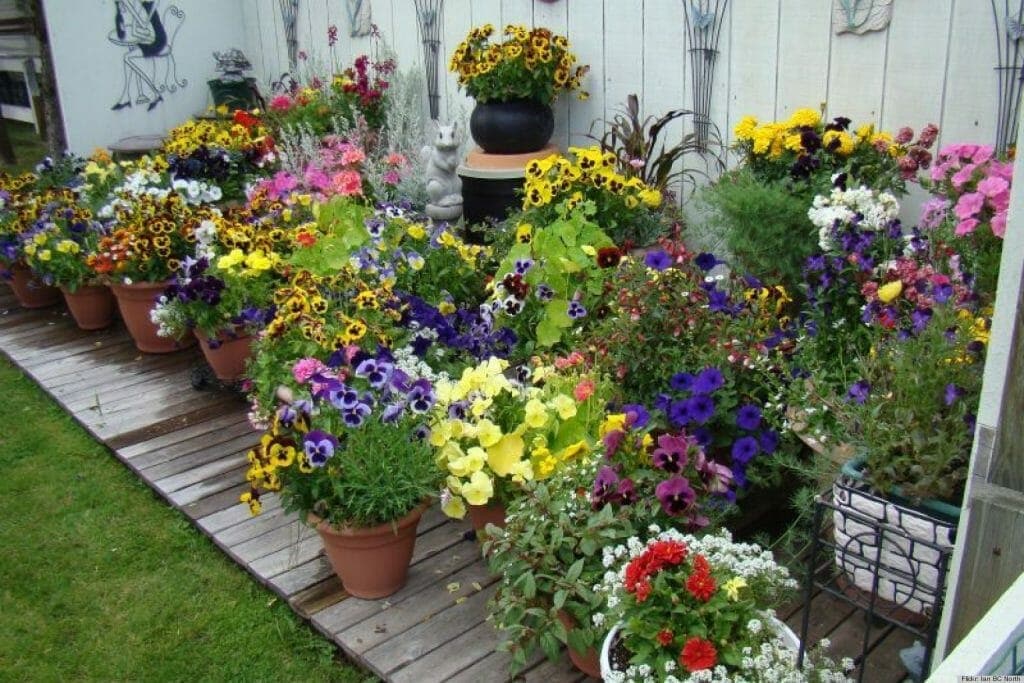
Container gardens are an easy, versatile way to add color in your garden or on your porch. But there’s more to it than throwing some begonias and impatiens in a pot and calling it a day. Aesthetically, you’ll get much better results by varying the height, color, and texture of plants.
6 Pro Tips for Successful Container Gardening

When she’s not sharing her knowledge of container gardening as a guide on About.com or photographing New England gardens for a forthcoming book from Timber Press, you’re likely to find Kerry Michaels tending to the nearly 100 potted plants that surround her home in coastal Maine. “No matter how hectic life can be,” she muses, “I get such enormous pleasure from these pots!” Here, Michaels offers six tips to boost your own container gardening know-how.
1. Water Properly
“It still surprises me how much water a good-sized container needs to get to the roots of a plant,” says Michaels. Don’t just wet the top of the soil, she advises. Rather, continue until you see water dripping out from the holes at the bottom of the pot.
2. Supplement Nutrients
“There are no nutrients in most potting soils, and even those that have some will need to be supplemented throughout the growing season,” Michaels says. If your potting soil doesn’t have any (check the bag), then augment it with slow-release fertilizer every couple of weeks. Be sure to follow the directions closely, whether you choose to use diluted liquid fertilizer or granular fertilizer.
3. Pay Attention to Pot Size
Pots that are too small can be a problem for container gardeners, Michaels reports. “Small pots mean less soil, and less soil means that there isn’t much margin for error when watering, because the pots dry out so fast,” she says.

4. Add Some Holes
If your pot is skimpy on drainage, don’t be afraid to make a few extra holes in the bottom. You can either use a drill with a special bit for ceramic pots (because these pots can crack, always wear safety goggles and make sure the pot and bit do not overheat), a regular bit for plastic pots, or an awl or nail and hammer for metal pots. “Sometimes my pots look like Swiss cheese, because I put so many holes in them,” Michaels says. “The more drainage the better.”ADVERTISEMENT
5. Skip the Gravel
“It’s a myth that stones or shells at the bottom of a container help keep your plants from getting waterlogged,” Michaels reveals. To keep soil from escaping the bottom of your pot, place window screening, a coffee filter, or a paper towel over the holes of your container before adding soil.
6. Elevate Pots
“When containers are set flat on nonporous surfaces, drainage can be affected,” says Michaels. “And on a deck, the constant moisture can damage the wood. Air circulation below pots is beneficial to both the plants and your deck.” She suggests using commercially made pot feet, like Potrisers or Pot Pads, or depending on the weight of your containers, you might consider teacups, shot glasses, or small terra-cotta pots to elevate them.
Original post here https://www.bobvila.com/articles/container-gardening/


