Written by Kelly Burke and published on https://www.thespruce.com/.
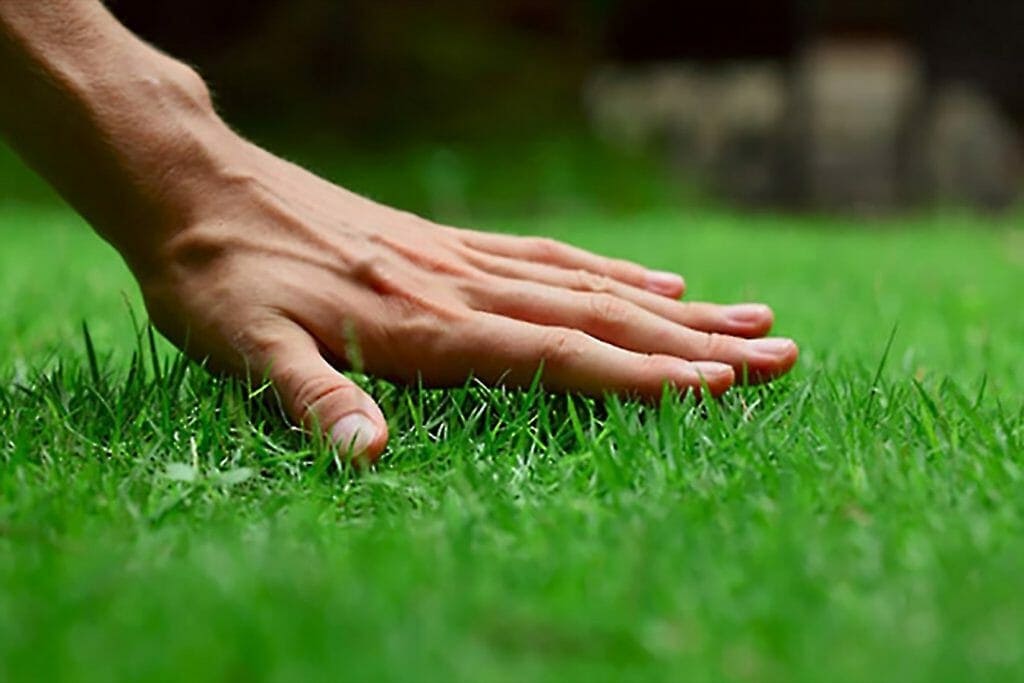
Bare patches can appear in your lawn after a thorough raking, where the grass is undernourished or where it’s been worn out. These gaps should be reseeded or returfed to prevent moss and weeds colonising the soil and to allow your lawn to look its best all year round.
Overgrown lawn edges can look unsightly and make an otherwise healthy, well-cared for garden look untidy. For a professional finish, re-cut the edges of your lawn each spring and trim overhanging grass after mowing.
How to Repair Bare Spots in Your Lawn
:max_bytes(150000):strip_icc():format(webp)/seedinglawn-5a80bb2c3037130036242316.jpg)
Bare patches in an otherwise full, healthy lawn may be the result of pet urine, heavy foot traffic, infestations by grubs or other pests, or a variety of other causes. There are several ways to effectively patch these areas, but you also need to consider the causes and correct them if you can. For example, if a bare patch occurs because natural foot traffic continually pounds one area, no fix will be permanent unless you also solve the traffic flow issue. And if the bald spots are caused by a lawn grub problem, new bare patches will crop up as soon as you repair the old ones, unless you address the grubs.
There are two easy methods for restoring bald patches in your lawn: reseeding and patching with sod.
Reseeding Bare Patches
This easy method is inexpensive and requires only about 20 minutes of your time, plus some upkeep until the first or second mowing. Its drawback is that it will take several weeks for the patch to fully blend into the rest of your lawn.1
- Rake the Area Rake and remove any debris or dead grass from the area, using a garden rake.1 Now is also the time to examine the area for grub damage. If the damaged patch of lawn pulls up easily, like a rug being lifted, you may have a grub problem that needs correcting.
- Loosen the Soil Break up the soil with a hard-toothed lawn rake or a garden cultivator. If the soil seems heavily compacted, you might consider aerating it with a manual core aeration tool.
- Amend the Soil Add several inches of compost or loamy soil and mix it into the existing soil with the rake. Turn the rake upside down and use the top edge to even out the surface, spreading some of the mix into the adjacent areas.
- Spread the Seeds Sprinkle grass seed evenly across the area, thick enough to cover the surface but not so thick that the seeds pile up on top of one another.1 Use an appropriate seed for your region and micro-climate (sun or shade). Perennial ryegrass should be a part of the blend because it will quickly germinate. Tip Do not fertilize yet. While this step was once recommended, most experts suggest that starter fertilizers are not useful until after the grasses are well established.
- Rake the Seeds Lightly rake in the seed to distribute it evenly. This will also cover some of the seed with a thin layer of soil, which can help keep it in place but typically is not necessary. Until the seeds germinate, you may need to protect the area from birds. Using reflective tape or pinwheels mounted on short stakes can help deter them.
- Begin Watering Lightly water the area. Keep the seedlings moist throughout the day. If hot weather is a problem, you can use a sheet of burlap to cover the patch. this will provide shade and keep the tiny seedlings from drying out.
- Mow When Ready Allow the grass to grow slightly longer than the rest of your lawn until the color of the patched area begins to blend in with the rest of your lawn. This may mean mowing around it for two or three mowing cycles. Some seed manufacturers suggest waiting a full seven weeks before mowing the new grass.
Patching With Sod
A quicker method than seeding is to fill the bare spot with a patch cut from a roll of grass sod. This is a good method if you have several bare patches to treat. A roll of sod costs only a few dollars, and you can cut many patches from a single roll.2
- Cut a Sod Patch Use a sharp shovel or garden knife to cut a patch of sod grass that is slightly bigger than the bare patch in your lawn. The patch should extend 2 inches or so beyond the edges of the bare spot into the healthy grass area.
- Cut Out the Old Turf Place the patch over the bare spot. Use a sharp shovel to “trace” around the sod patch into the healthy lawn around the bare spot.2 Remove the sod patch, then remove the dead grass and the ring of healthy grass around the bare patch, using a hand cultivator. Remove a layer of soil below the grass: Your goal is to dig down slightly so that the sod patch will sit down at the same level as the rest of your lawn.
- Prepare the Soil Loosen up the soil in your patch area, using a shovel, garden rake, or cultivator. You want the soil nice and loose so that the roots in your sod patch can quickly grow down into the soil.
- Place and Water the Patch Place the sod patch into the excavated area, and compress it into the ground by walking on it repeatedly. Water immediately, and repeat watering two or three times a day for several days, until the sod patch is bonded and is beginning to grow actively.
Within no more than a week or two, your sod patch should be seamless and indistinguishable from the rest of your lawn. Do not be surprised if it is a slightly different color at first; this will disappear soon.
Original post here https://www.thespruce.com/repair-bare-patch-on-lawn-2153035.